Product Description
How to Adjust RV Water Pressure?
(1) Increase pressure:
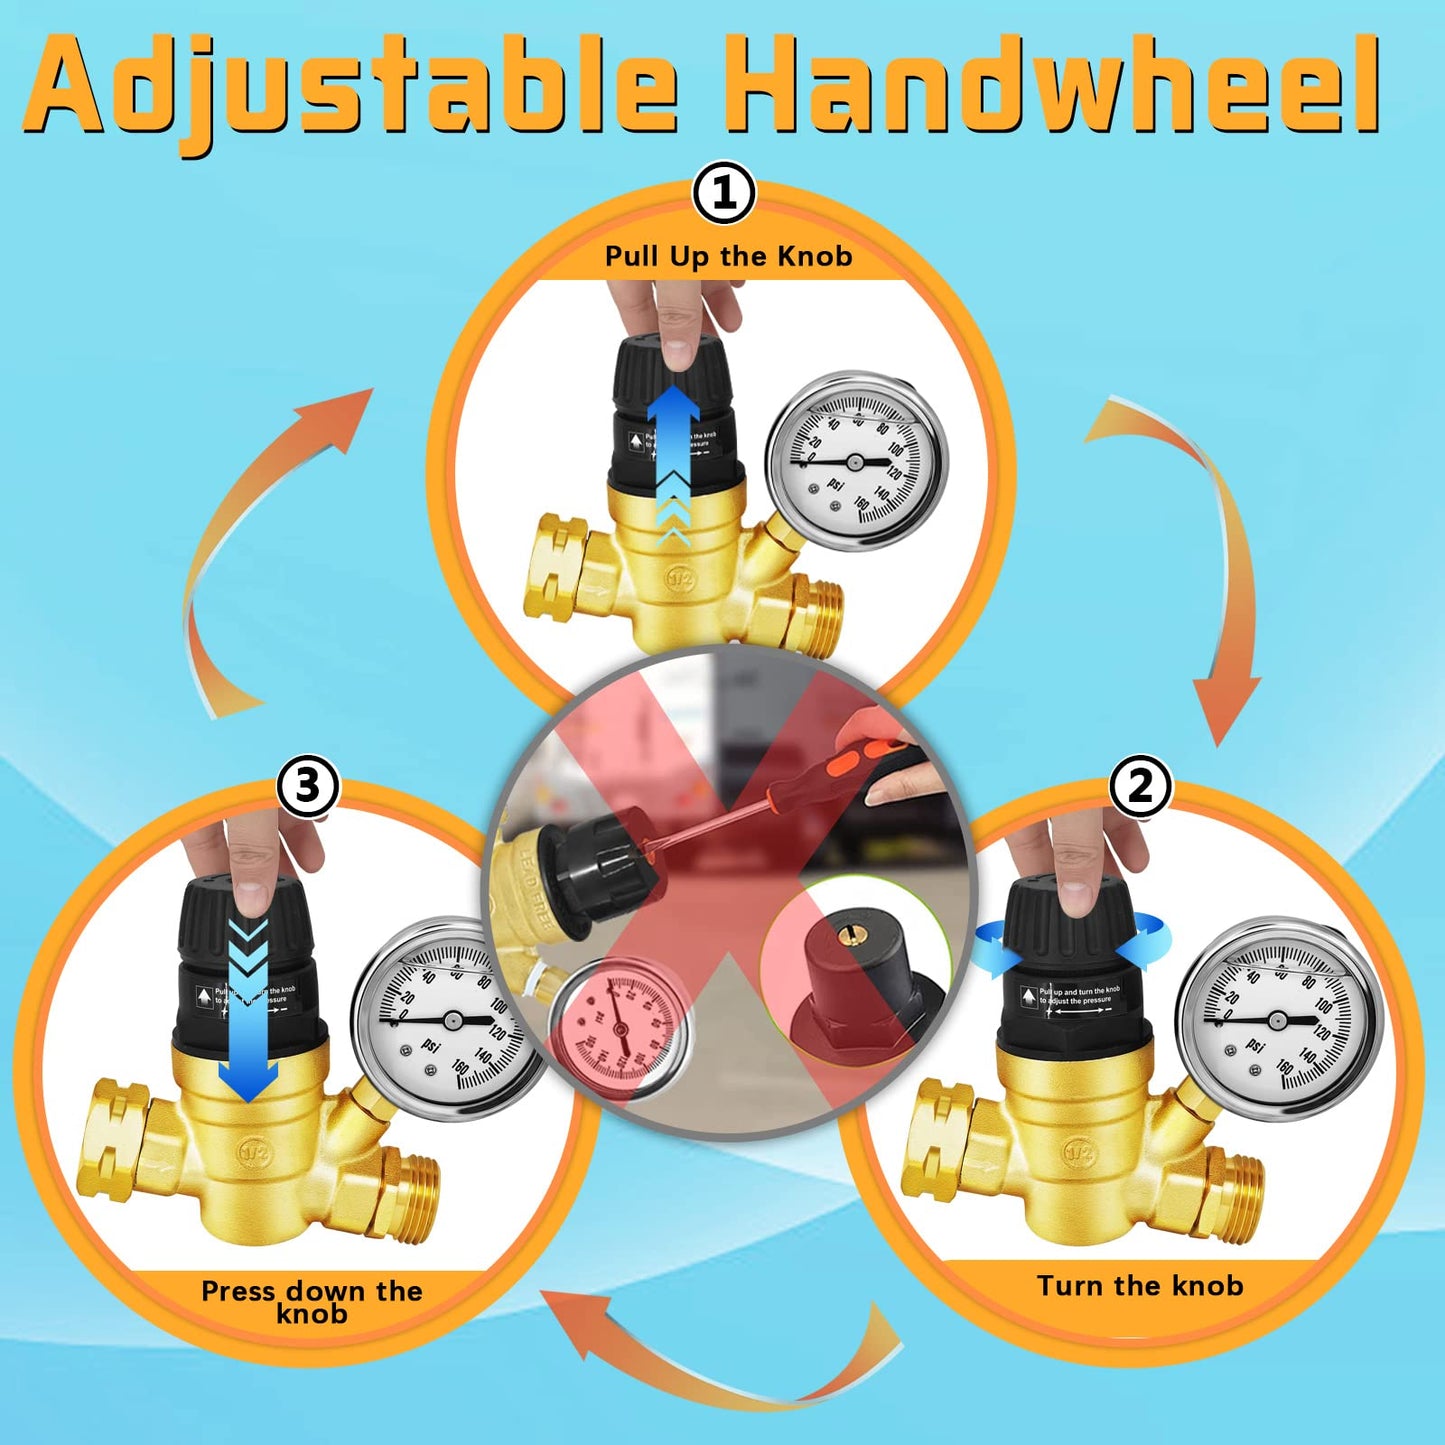
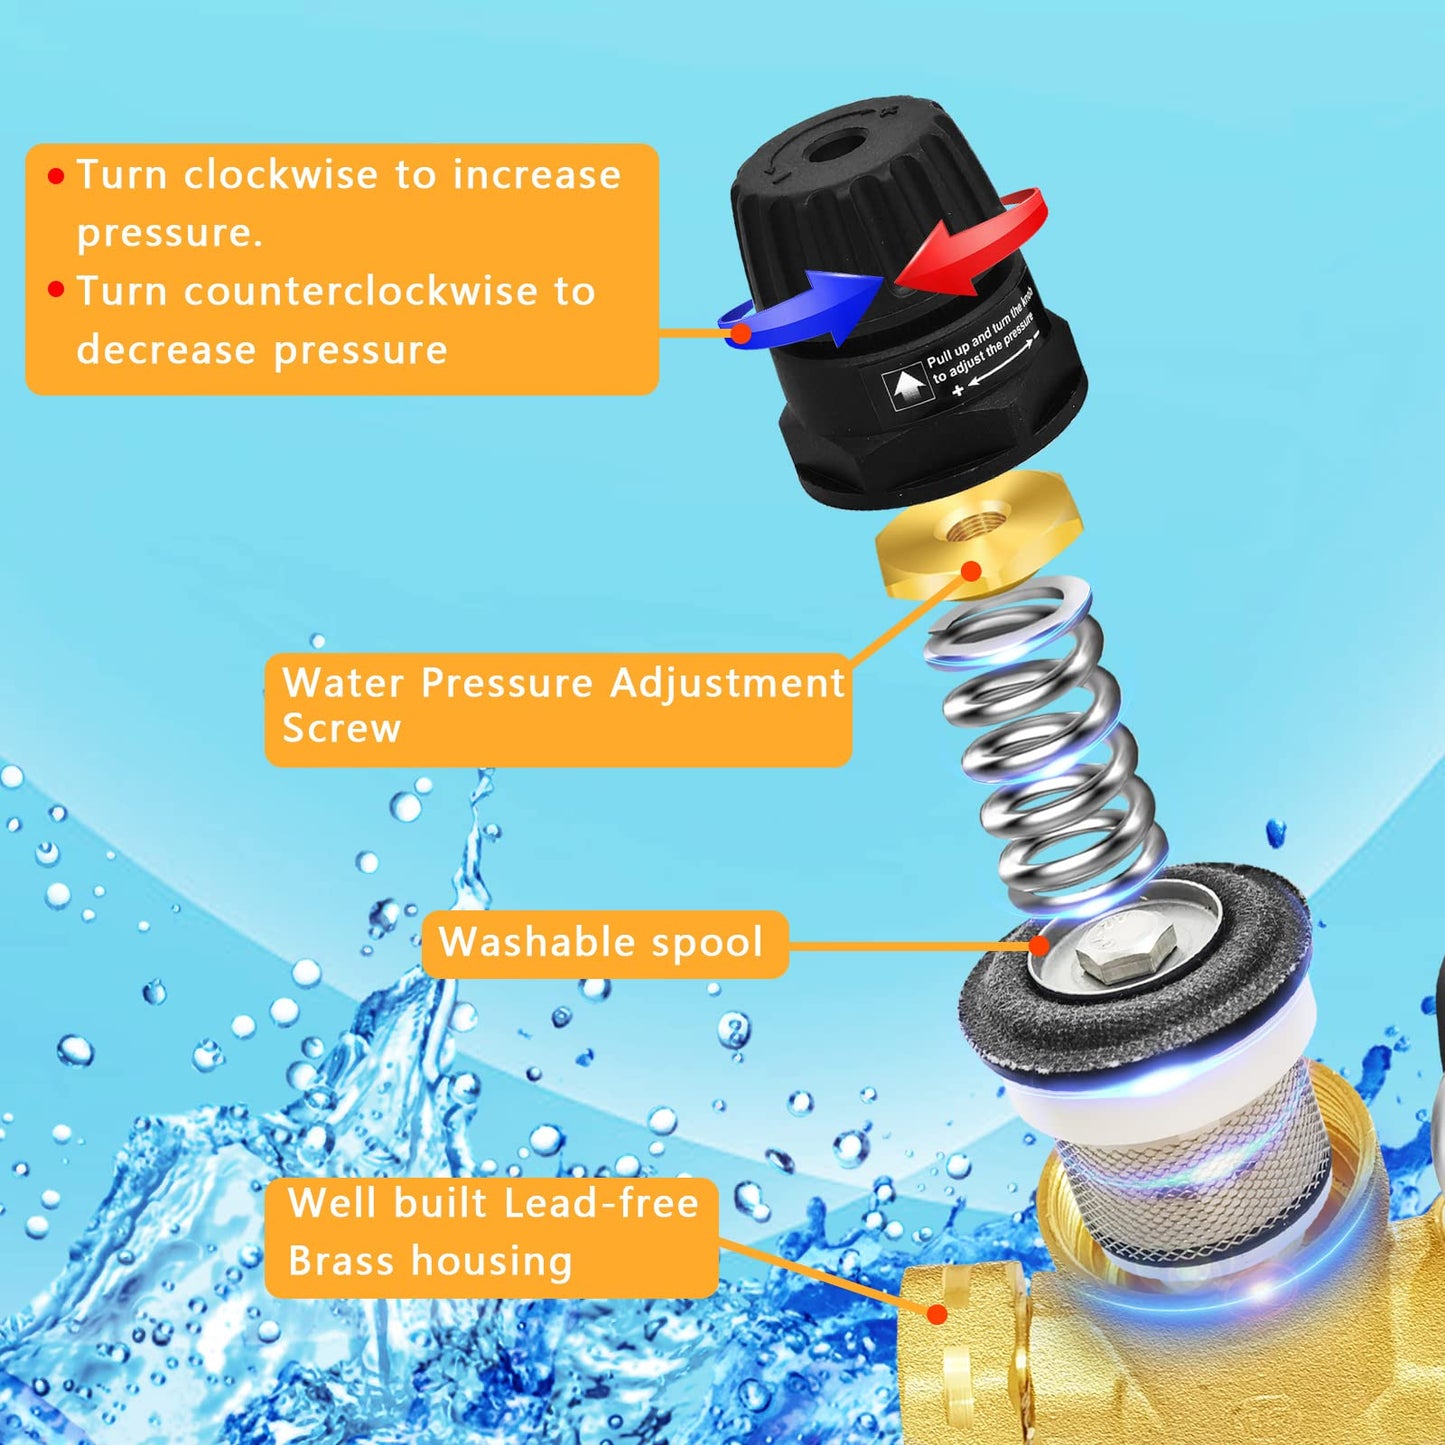
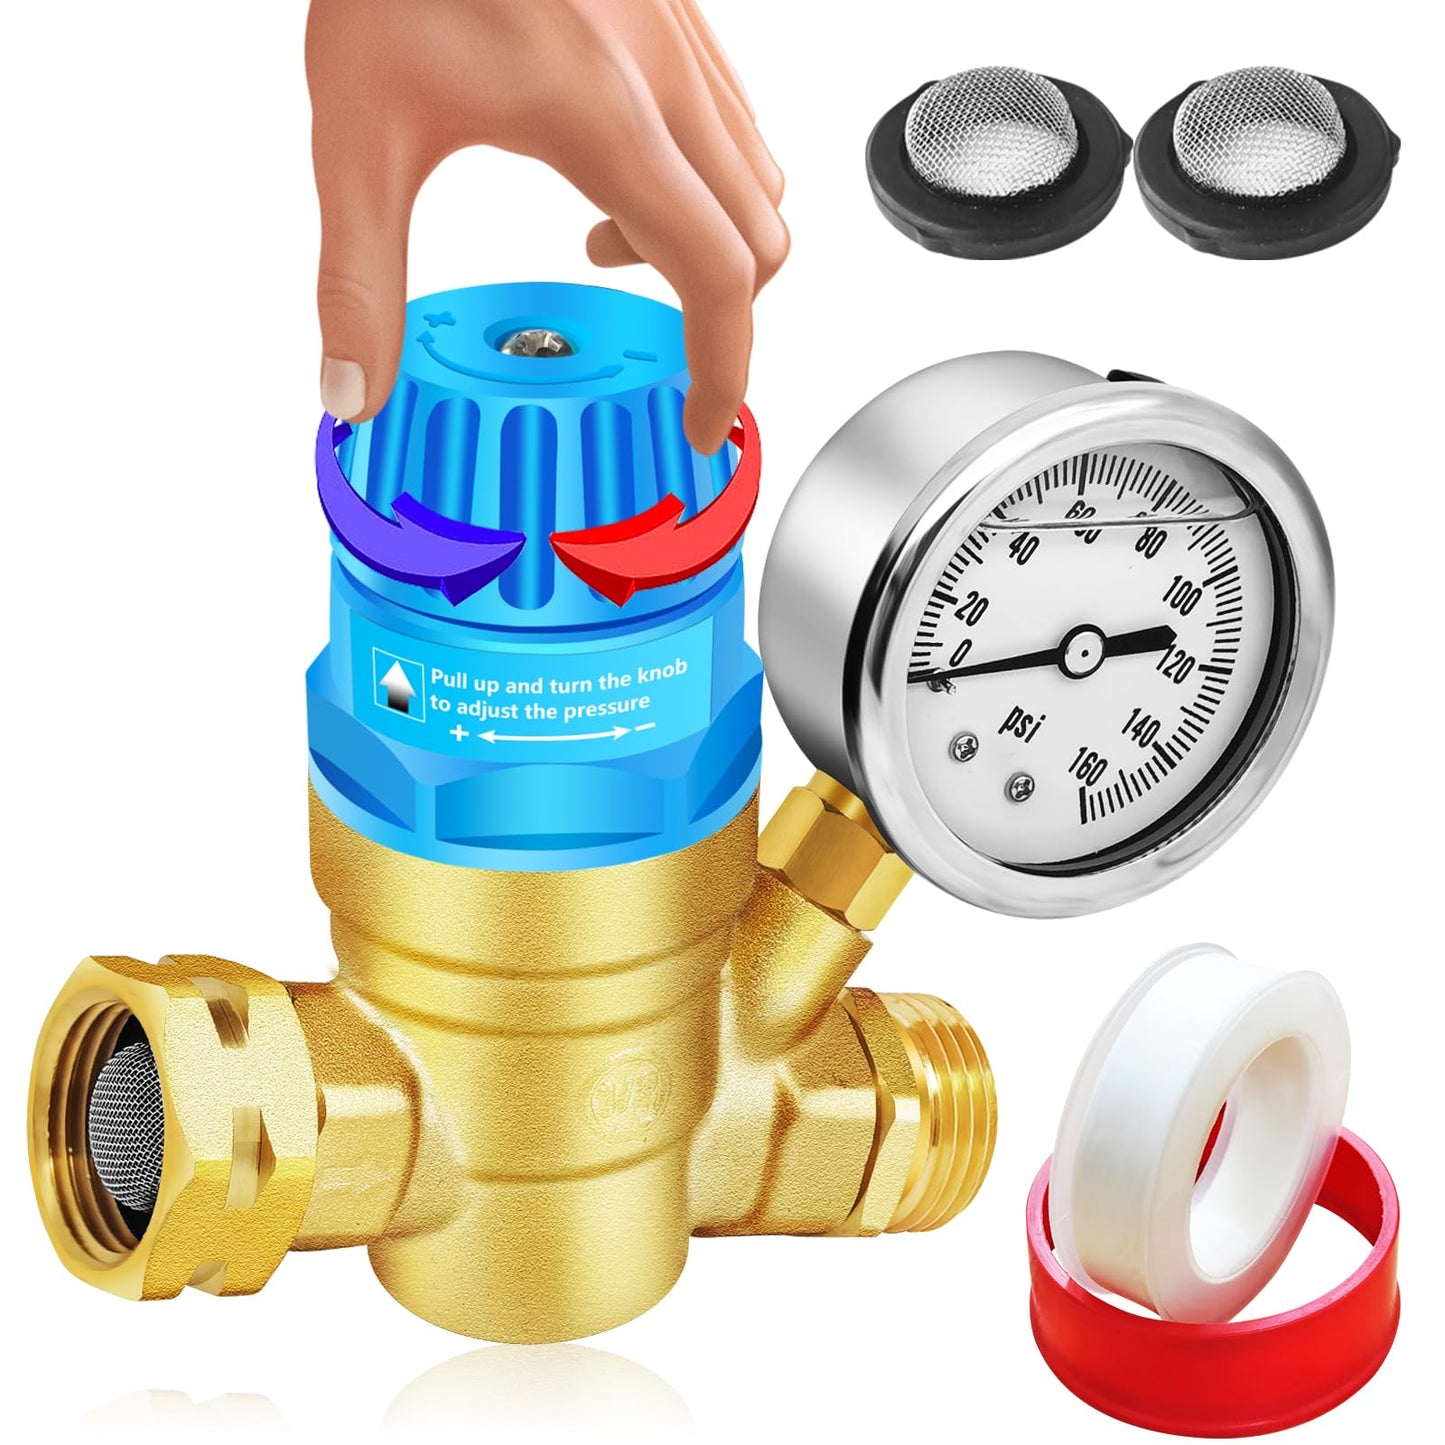
When you increase the pressure, pls note that you must keep the inlet side opening and the outlet side closing. Then, just swith the top handwheel clockwise to increase the pressure you need.
(2) Reduce pressure:
- Close the water inlet side and outlet side at the same time.
- Open the outlet side to release the pressure, immediately, swith the top handwheel counterclockwise to lowest pressure, then close the outlet side.
- open the intlet side and then just swith the top handwheel clockwise to increase the pressure to what you need.
RV Accessories For Travel Trailers
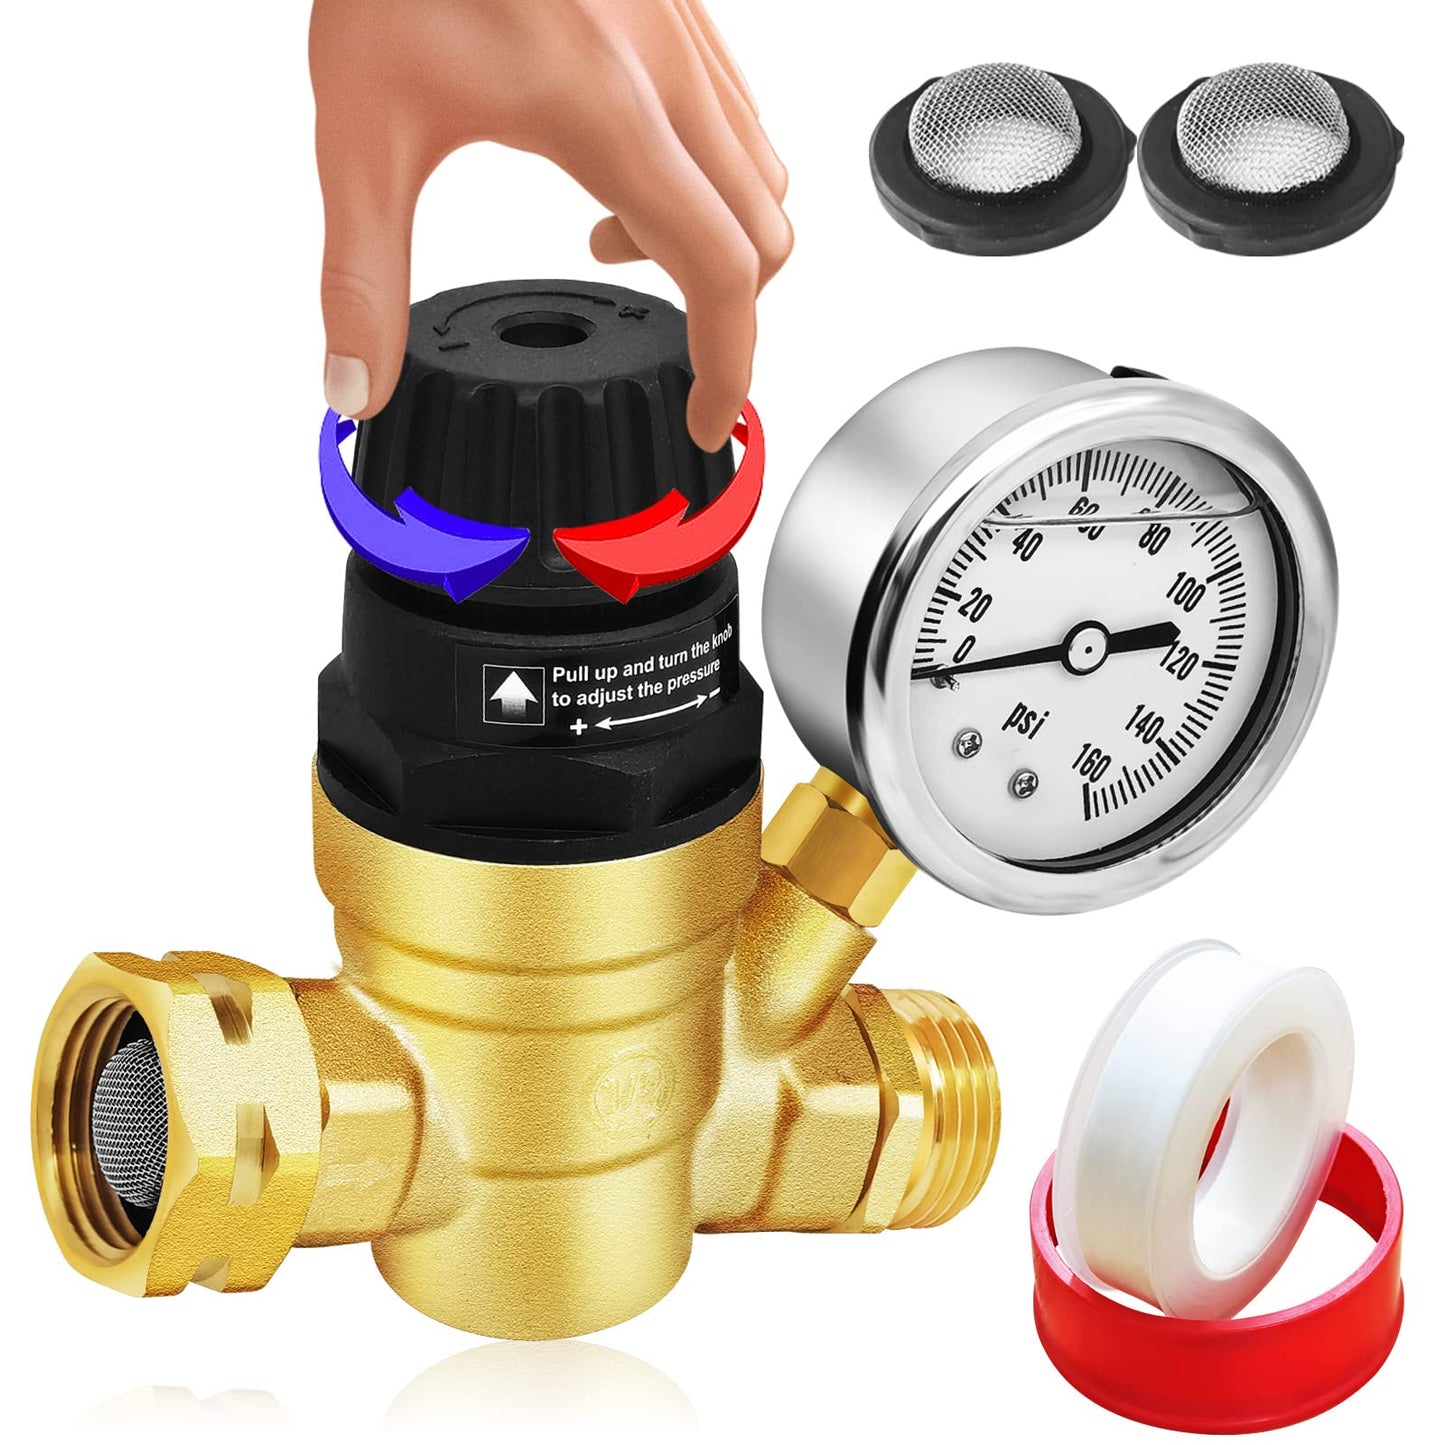
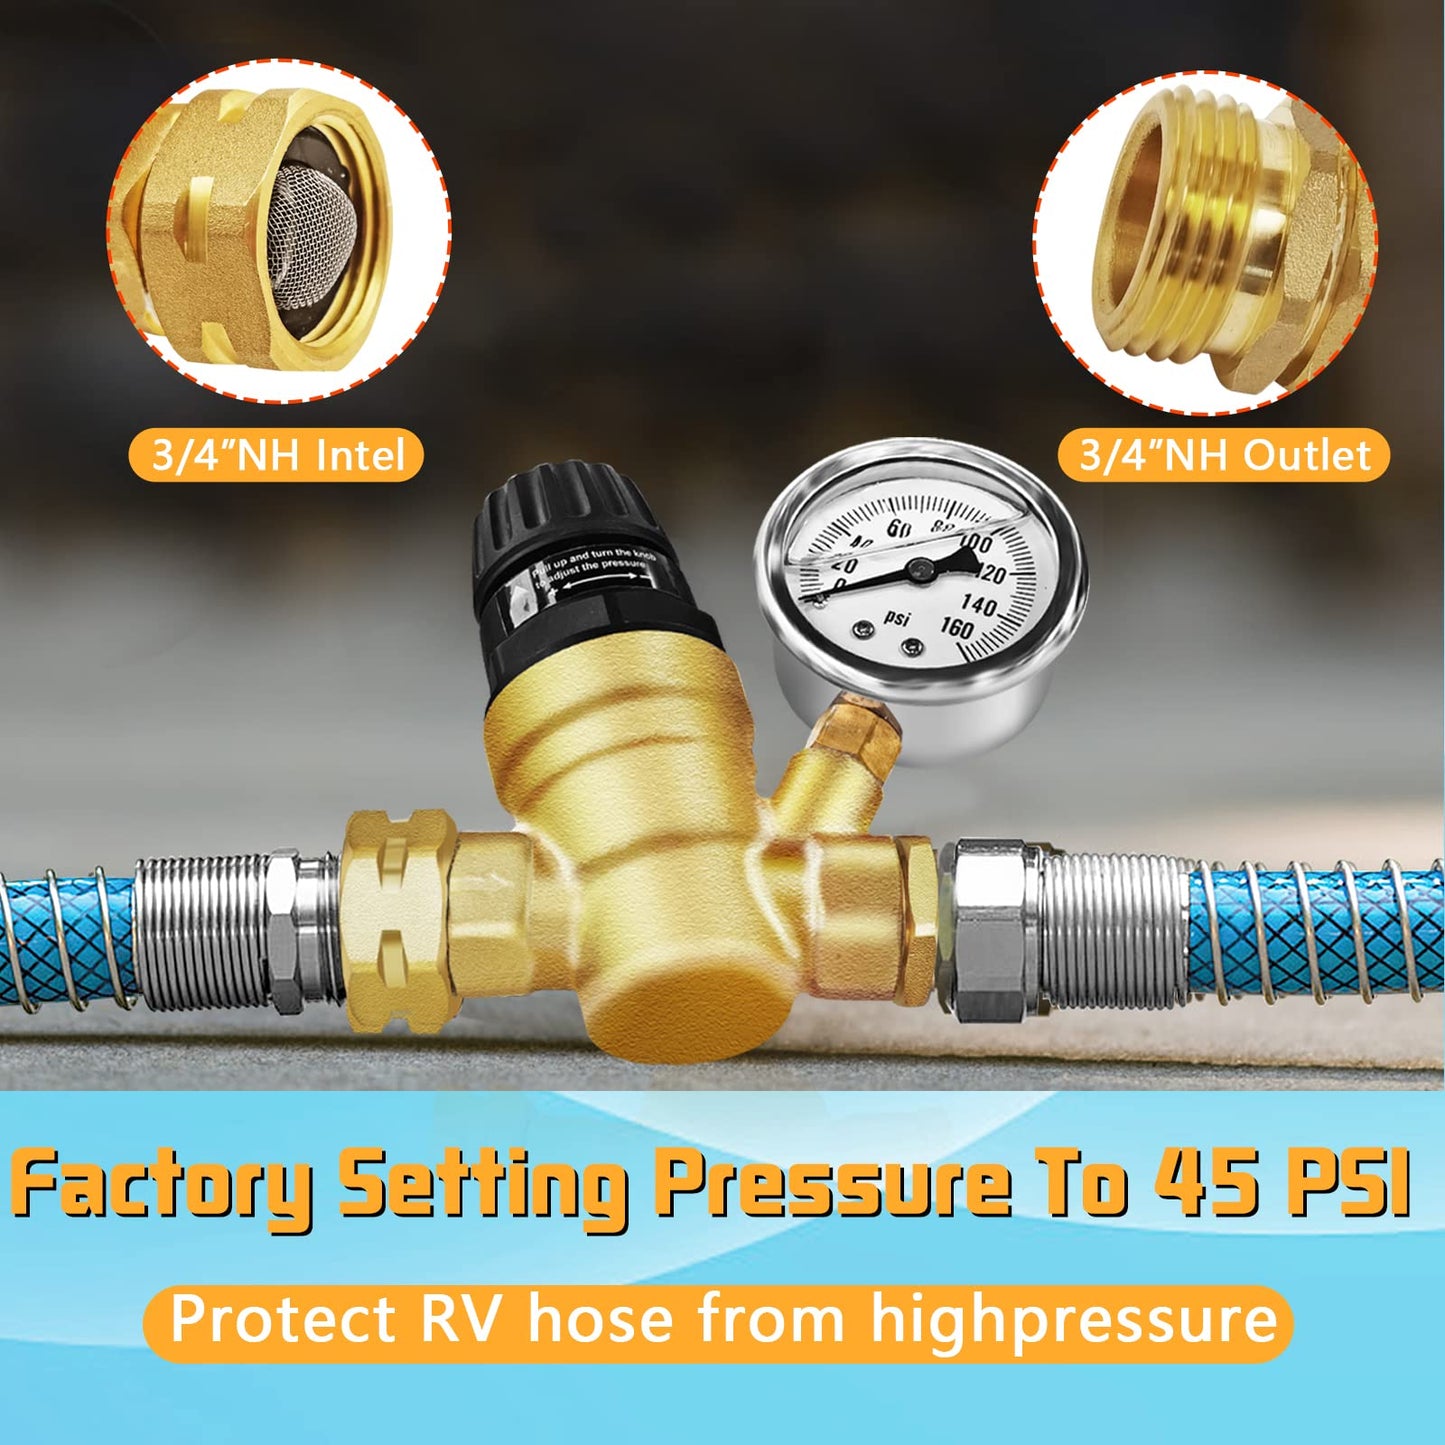
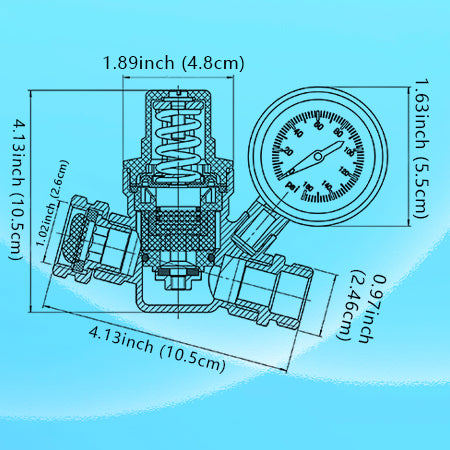
- Water Pressure Regulator Factory setting: 45 psi, Min: 14 psi, Max: 160 psi.
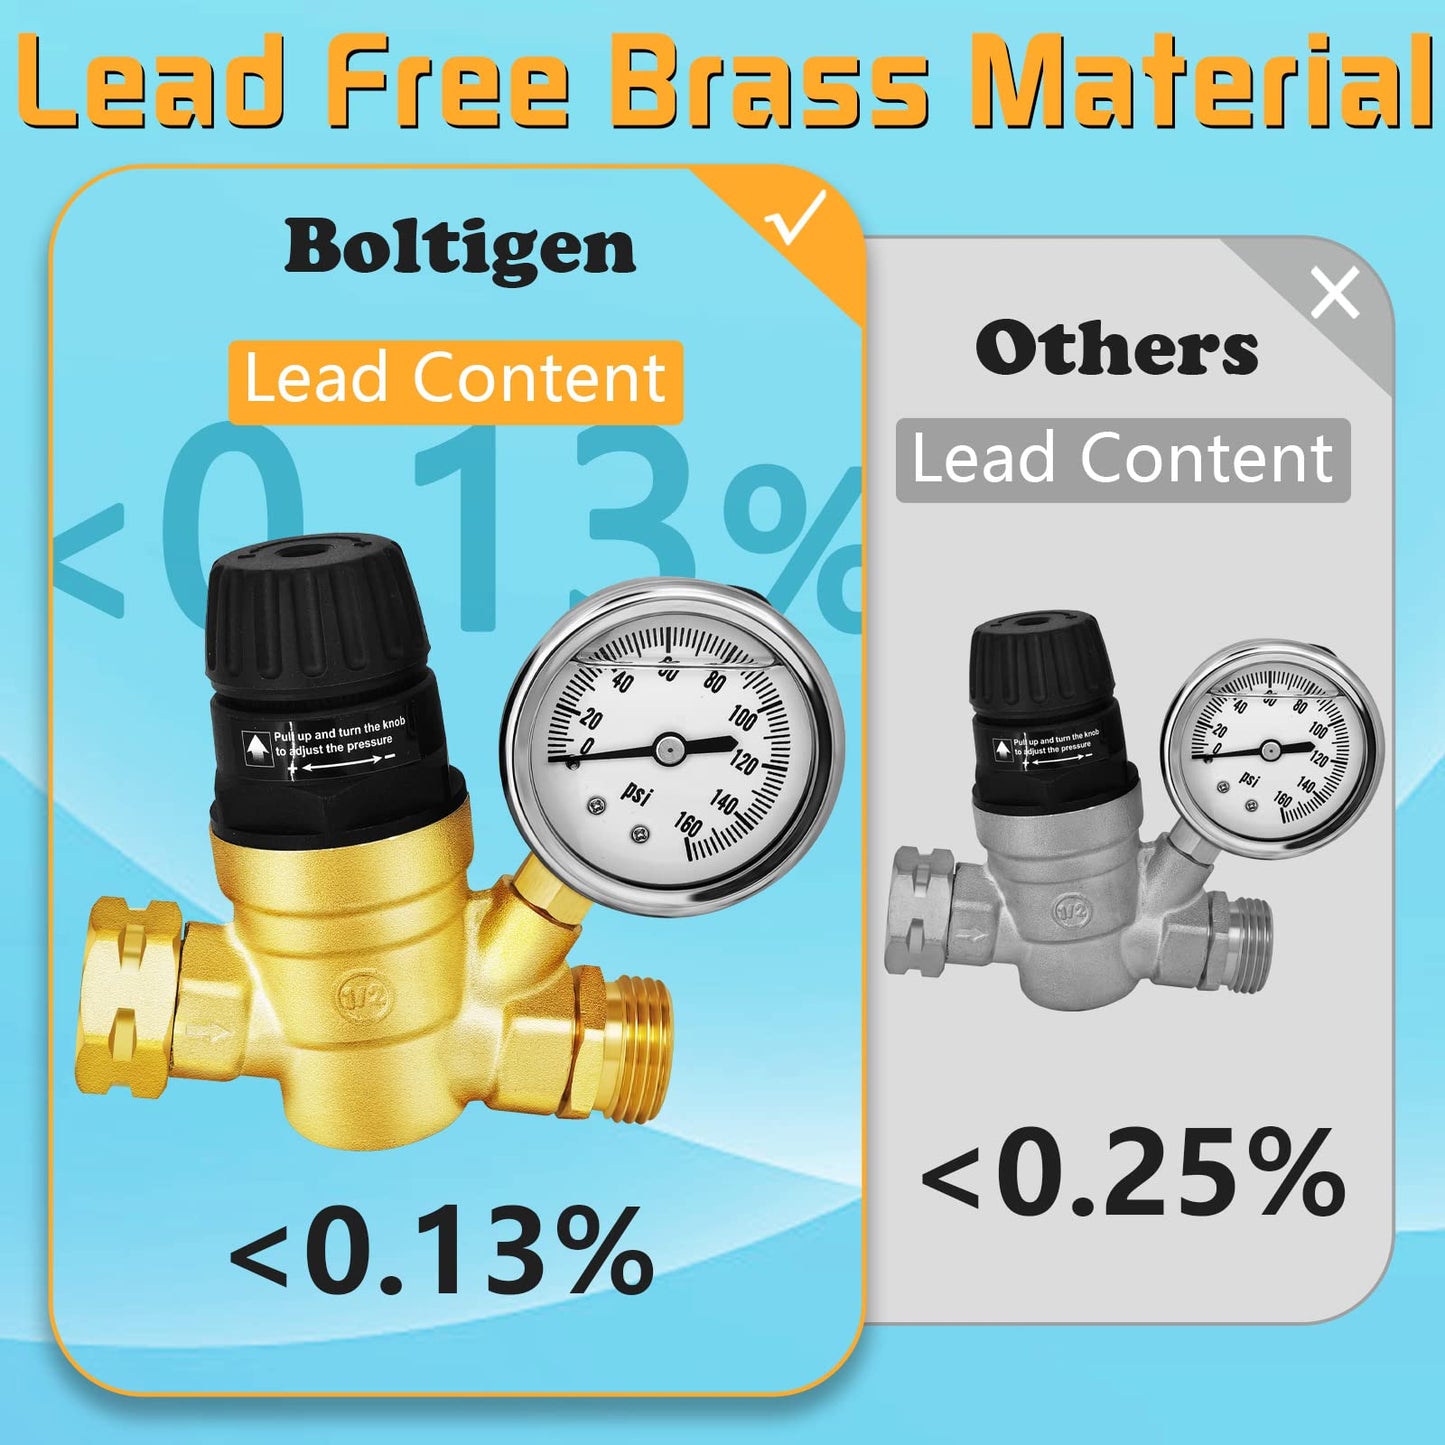
- Made of durable and less than 0.13% lead-free premium brass.
- Compatible with U.S. water sources with 3/4" garden hose threads and NH threads.
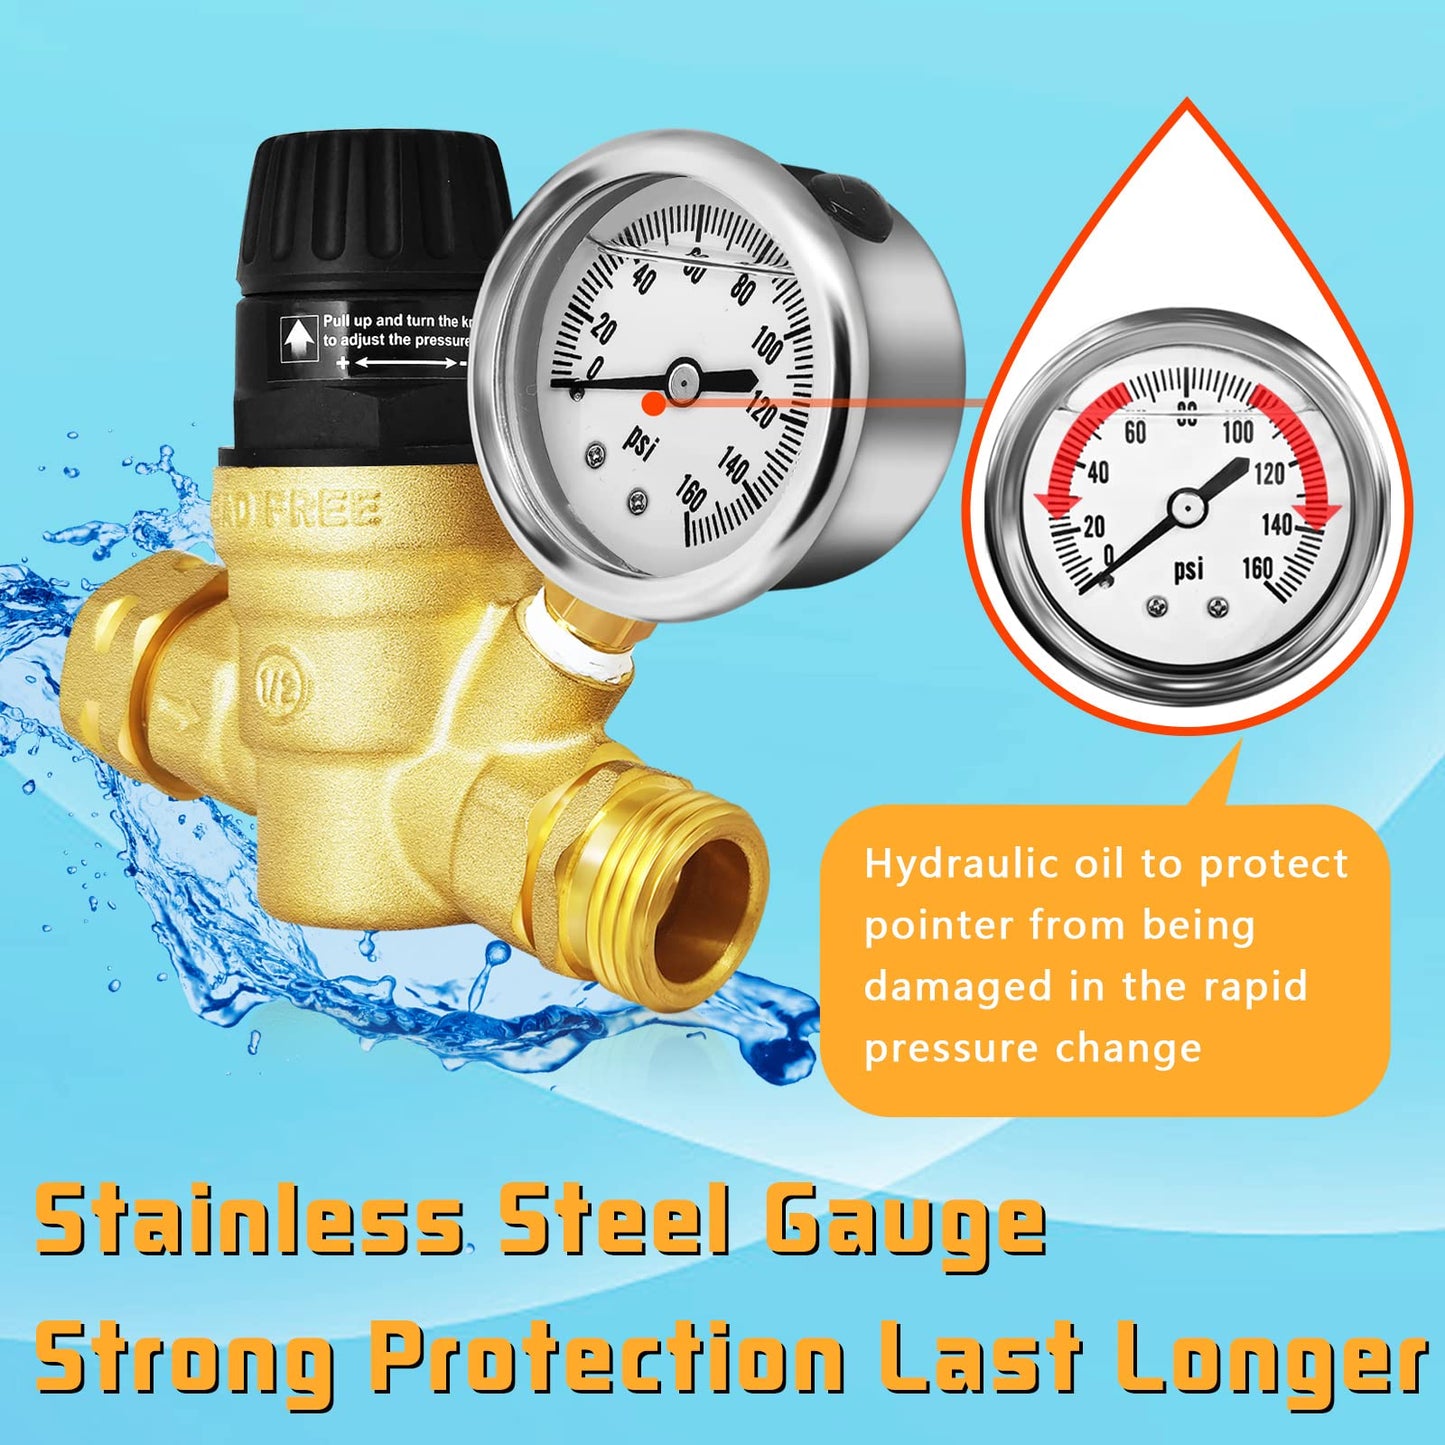
- Stainless steel silicone oil gauge to reduce the friction of internal components and greatly increases the life of the product.
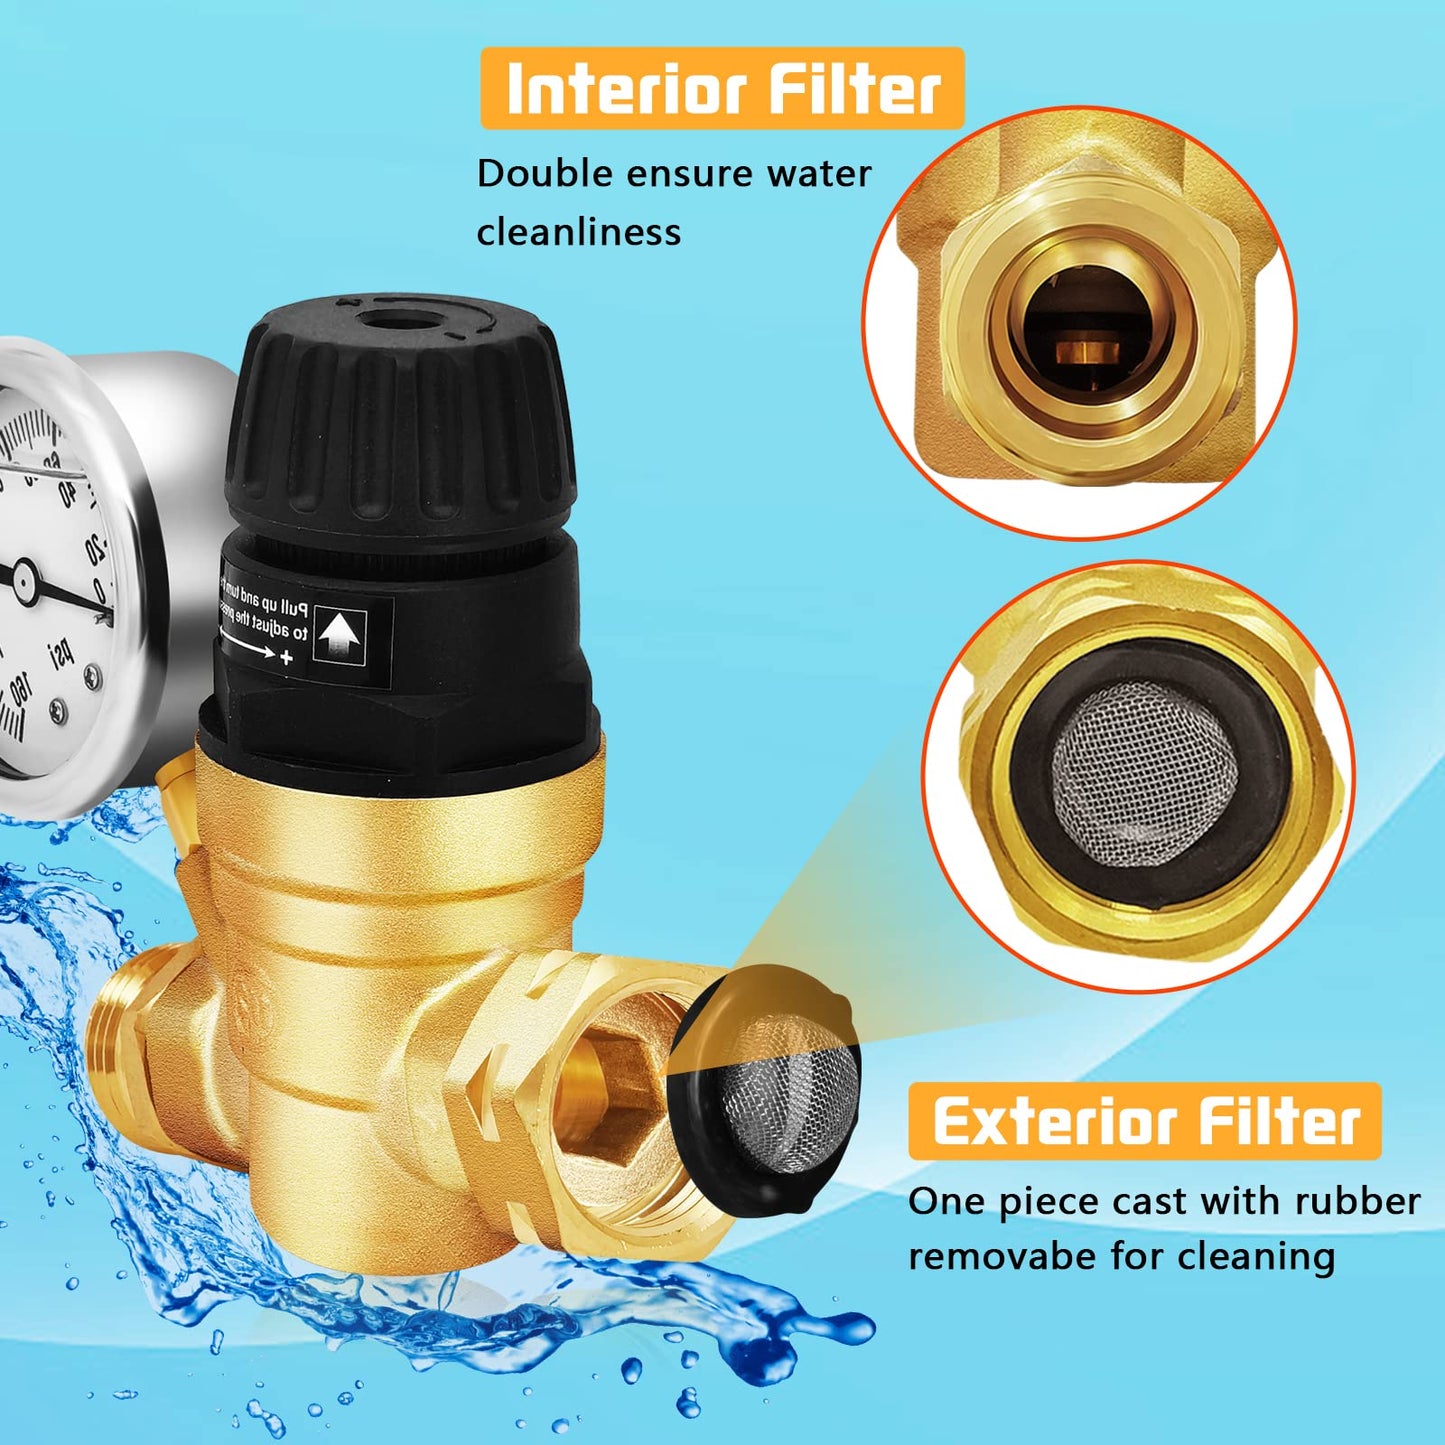
- The water pressure regulator filter is provided at the inlet to prevent blockage.
What should I set my water pressure regulator to for my RV?
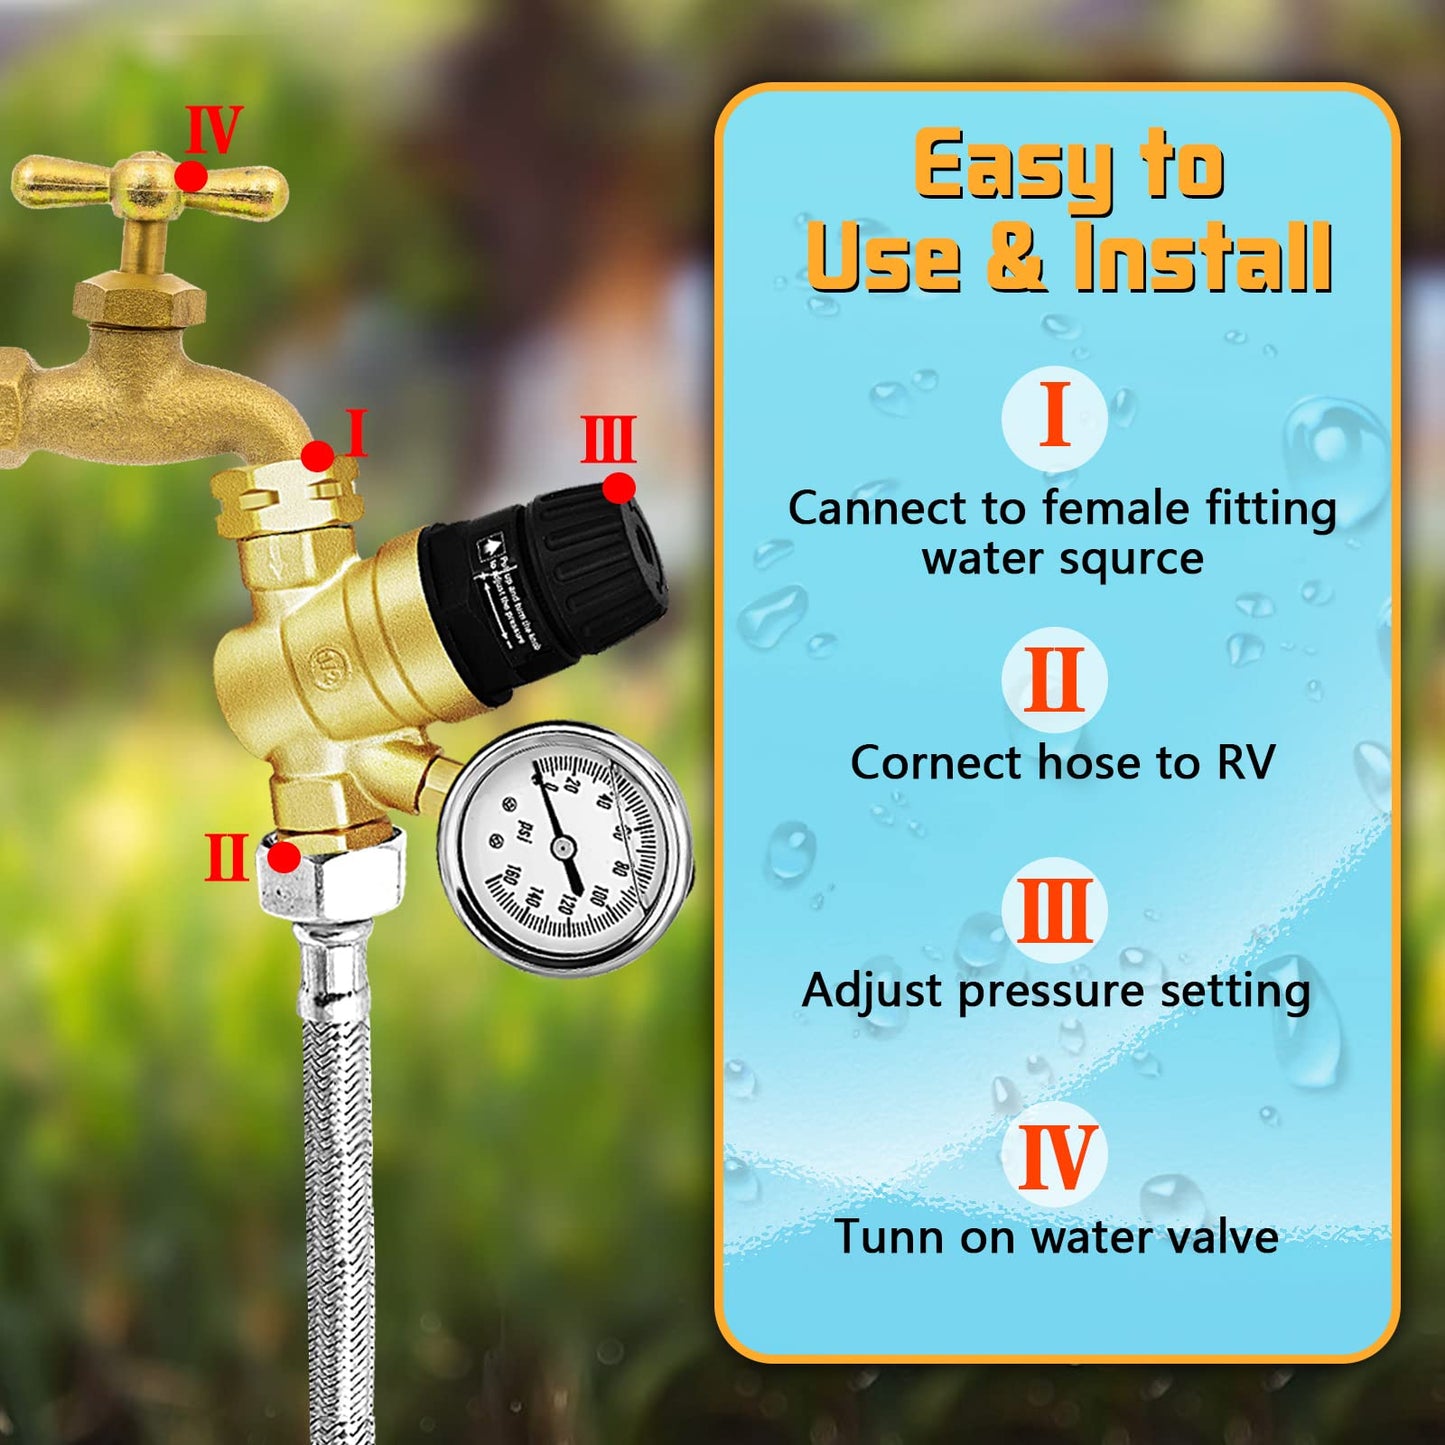
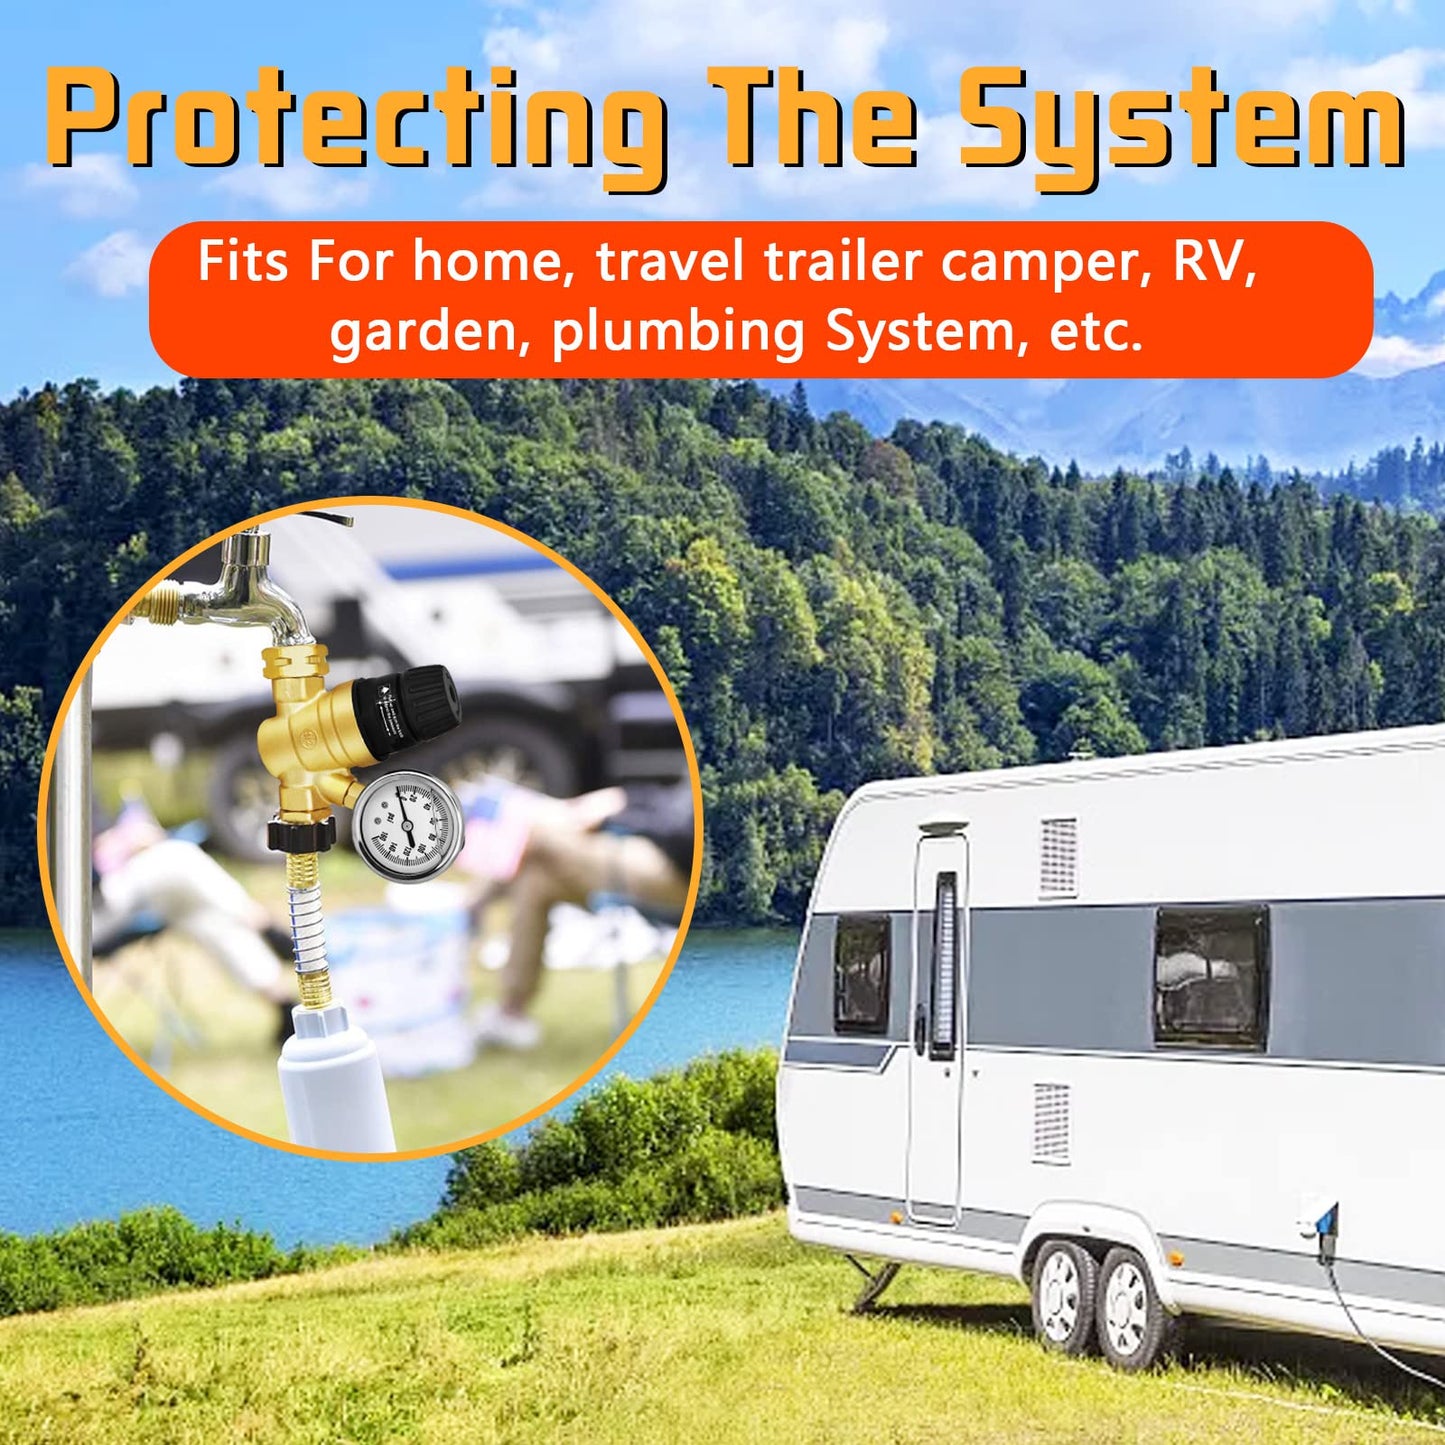
1-Connect the female fitting on the adjustable water regulator directly to your water source's hose bib.
2-Connect the female fitting on the water hose to the male fitting on the adjustable water regulator.
3-Turn on the water supply in order to flush the water regulator and hose for one minute. Turn off the water supply.
4-Connect the hose to your RV's water inlet, then turn on the water supply.
5-Turn on all RV fixtures to allow any air to be flushed out of the RV plumbing - this includes turning on showers, faucets, and flushing toilets.
6-Manual rotation adjust the regulator cap until it is set to the desired pressure reading. Ensure that all RV fixtures have been turned off while making adjustments to the regulator screw until you reach the desired pressure reading.


